Easy Crochet Ear Warmer Patterns: Free Beginner Guides
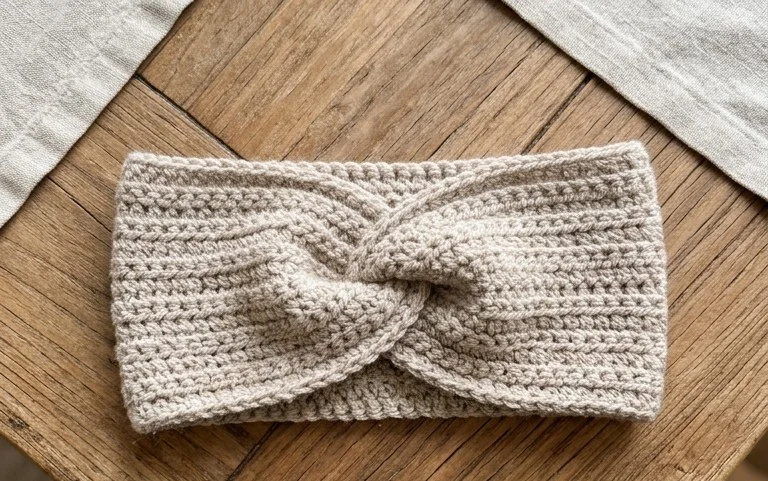
There is nothing quite like the cozy embrace of a handmade accessory during a crisp autumn walk or a chilly winter morning. These stylish bands offer a plush, textured feel that keeps your ears snug while keeping your hairstyle perfectly intact. Whether you are a brand-new beginner or a seasoned maker hunting for the ideal heartfelt gift, these quick projects are incredibly rewarding to whip up in a single evening. You will learn how to master beautiful, stretchy stitches that create professional results without the hassle of a full hat, ensuring your next handmade treasure looks absolutely stunning.
Why You’ll Love This Pattern
This Amigurumi Crochet Bee is the ultimate project for those looking for a quick, rewarding, and adorable make. Its compact size makes it incredibly beginner-friendly, providing a perfect introduction to working in continuous rounds and managing small-scale assembly. Because it utilizes small amounts of yarn, it is a fantastic scrap-buster for your leftover yellow, black, and white yarn stash. Finally, its charming aesthetic and durable construction make it an ideal candidate for market sales, gifts for children, or as a decorative desk companion.
This was the first amigurumi project I ever attempted, and the instructions were so clear that I finished it in one evening. My daughter absolutely loves the little wings.
— Sarah, beginner crocheter
Pattern Overview & Skill Level
- Skill Level: Beginner
- Approximate Time: 1–2 hours
- Construction: Worked in continuous rounds starting with a magic ring. The body, wings, and eyes are worked separately and joined during the assembly phase.
- Finished Dimensions & Sizing: Approximately 3 inches tall by 2.5 inches wide, depending on yarn tension and weight.
Materials & Supplies Needed
- Yarn: Worsted weight (#4), acrylic or cotton blend. Approx. 20 yards Yellow, 10 yards Black, 5 yards White.
- Hook Size: 3.5 mm (E-4) or 3.75 mm (F-5) to ensure a tight fabric that prevents stuffing from showing.
- Notions: Polyester fiberfill stuffing, 6mm plastic safety eyes, tapestry needle, stitch markers, and scissors.
- Yarn Substitutions: Using a lighter weight yarn (Sport #2) with a smaller hook will result in a miniature bee; using a bulky weight (#5) will create a larger plushie, though you will need to increase yardage and use larger safety eyes.
Stitch Guide & Abbreviations (US Terms)
- MR: Magic Ring
- ch: Chain
- sc: Single crochet
- inc: 2 sc in same stitch
- dec: Invisible decrease (insert hook into front loops of next two stitches, yarn over, pull through both loops, yarn over, pull through remaining loops)
- sl st: Slip stitch
- st(s): Stitch(es)
Step-by-Step Pattern Instructions
Bee Body
- Rnd 1: With yellow, MR, 6 sc in ring (6 sts)
- Rnd 2: inc in each st around (12 sts)
- Rnd 3: [sc, inc] 6 times (18 sts)
- Rnd 4: [2 sc, inc] 6 times (24 sts)
- Rnd 5–7: sc in each st around (24 sts)
- Rnd 8: With black, sc in each st around (24 sts)
- Rnd 9: With yellow, sc in each st around (24 sts)
- Rnd 10: With black, sc in each st around (24 sts)
- Rnd 11: With yellow, [2 sc, dec] 6 times (18 sts)
- Rnd 12: [sc, dec] 6 times (12 sts). Insert safety eyes between Rnd 6 and 7. Stuff body firmly.
- Rnd 13: dec 6 times (6 sts)
Fasten off, weave tail through front loops, pull to close, and hide end inside the body.
Wings (Make 2)
- Rnd 1: With white, MR, 6 sc in ring (6 sts)
- Rnd 2: inc in each st around (12 sts)
- Rnd 3: [sc, inc] 6 times (18 sts)
Fasten off, leaving a long tail for sewing. Fold in half and sew closed, then attach to the top of the body.
Assembly
Using the tapestry needle and yarn tails from the wings, attach them to the top of the bee at approximately Rnd 4–5. If desired, use a small piece of black yarn to embroider a tiny smile between the eyes.
Care & Washing Instructions
- Hand wash in cool water using a mild detergent to maintain shape.
- Roll in a clean towel to remove excess moisture and dry completely flat in the shade.
- Avoid machine drying or bleaching, as this will damage the fiberfill and plastic safety eyes.
Pro Tips & Common Mistakes to Avoid
- Maintain Tension: Keep your tension tight to ensure no holes appear where the fiberfill can poke through.
- Use Stitch Markers: Always place a stitch marker in the first stitch of every round to keep track of your count, as continuous rounds lack a clear seam.
- Invisible Ends: When finishing, thread your tail through the tapestry needle and weave it back and forth through the interior of the piece before snipping; this prevents ends from working their way out.
- Adjusting Size: To make the bee larger, simply add more increase rounds at the beginning (e.g., [3 sc, inc] 6 times to reach 30 sts) and add extra plain sc rounds in the middle, keeping in mind this will require significantly more yarn.
Frequently Asked Questions
Can I use buttons instead of safety eyes?
Yes, but please ensure they are sewn on very securely if the finished item is intended for a young child, as buttons can pose a choking hazard.
How do I make the bee larger?
You can increase the size by using a thicker yarn weight and a larger hook, or by increasing the number of stitches in the initial rounds as noted in the Pro Tips section.
Is this project suitable for absolute beginners?
Absolutely! This pattern teaches you the core techniques of amigurumi—magic rings, increasing, and decreasing—which are the foundation for almost all stuffed toy designs.
Am I allowed to sell the finished bees?
You are welcome to sell items made from this pattern, but please credit the original design and use your own photographs when listing them for sale.
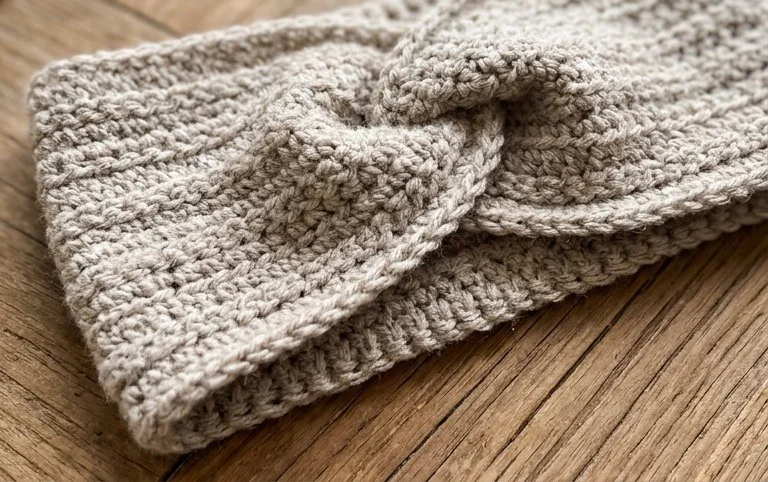
There is nothing quite like the cozy satisfaction of wearing a handmade accessory that you crafted yourself. For a fun twist, try working yours up in a variegated yarn to add a playful splash of color to any winter outfit. Once you finish your favorite design, please snap a photo and share it on Pinterest or Instagram so we can admire your work! If you enjoyed this project, stick around and explore the rest of our free collection for more inspiration.