Easy Crochet Table Linen Free Pattern for Beginners
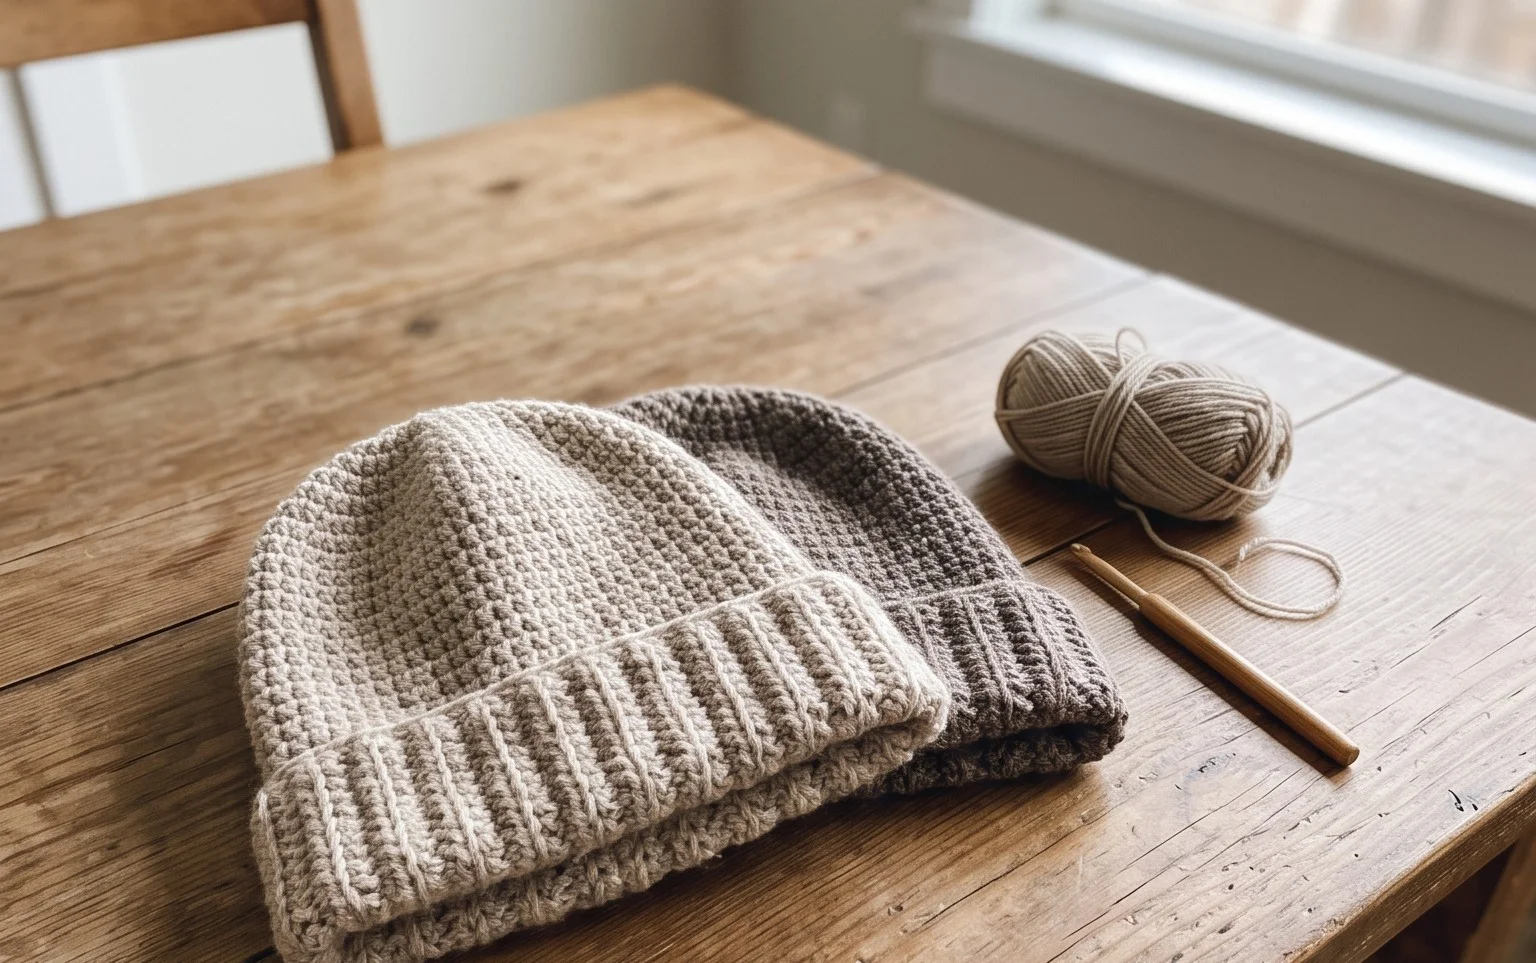
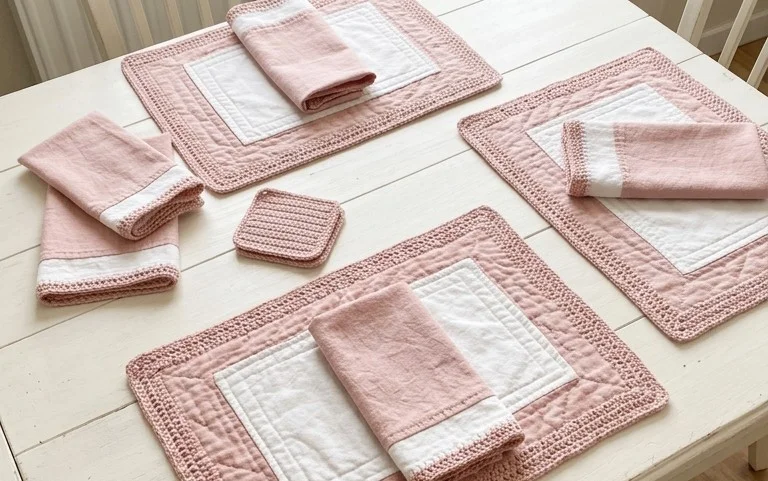
These finished linen squares offer a crisp, architectural look that brings a quiet polish to your kitchen table. Because they sit flat on wood surfaces, they provide a stable foundation for morning coffee mugs or decorative centerpieces. Crafting these items is a peaceful process for those who enjoy steady, rhythmic work, and they make thoughtful housewarming gifts that people actually use. You will learn how to maintain consistent tension while working double-crochet clusters in the round, a fundamental technique that keeps your edges straight and professional. The finished fabric feels dense, durable, and ready to withstand daily wear for years.
Why You’ll Love This Pattern
The Classic Crochet Granny Square is the foundation of countless heritage projects, offering a repetitive rhythm that is easy to memorize. Working in the round allows you to see your progress quickly, as each layer adds significant size to your project. This specific pattern uses a traditional three-double-crochet cluster structure, which balances yarn usage with a dense, sturdy fabric that resists stretching over time. Because it relies on basic stitches, you can complete a square in under thirty minutes, making it an ideal choice for using up leftover yarn scraps from previous projects.
I finally mastered the transition between rounds thanks to the clear instructions on where to place the slip stitch. It is the first time my squares have actually laid flat instead of curling up at the edges.
— Sarah, hobbyist crafter
Pattern Overview & Skill Level
- Skill Level: Beginner
- Approximate Time: 20-30 minutes per square
- Construction: Continuous rounds worked from the center outward
- Finished Dimensions: 5 inches by 5 inches using medium weight yarn
Materials & Supplies Needed
- Yarn: Worsted weight (#4), 100% acrylic or wool blend, approximately 15-20 yards per square.
- Hook Size: 5.0 mm (H-8) crochet hook.
- Notions: Tapestry needle for weaving in ends, sharp scissors.
- Yarn substitutions: Cotton yarn is a suitable alternative, though it will produce a stiffer, less draped square that may require slightly tighter tension.
Stitch Guide & Abbreviations (US Terms)
- ch = chain
- st = stitch
- sl st = slip stitch
- dc = double crochet
- dc-cluster = 3 double crochet stitches worked into the same space
- sp = space (the gap created by ch-1 or ch-2 spaces)
Step-by-Step Pattern Instructions
This pattern is worked in joined rounds. Always begin a new round by slip stitching to the first chain-space or by joining at the top of the initial chain.
Granny Square Body
- Rnd 1: Start with a magic ring. Ch 3 (counts as first dc), work 2 dc into the ring, ch 2. *3 dc into ring, ch 2; repeat from * twice more. Join with a sl st to the top of the initial ch-3. (12 sts)
- Rnd 2: Sl st into the first ch-2 corner space. Ch 3, 2 dc in same sp, ch 2, 3 dc in same sp. *Ch 1, skip 3 sts, (3 dc, ch 2, 3 dc) in next ch-2 corner space; repeat from * twice more. Ch 1, sl st to top of initial ch-3. (24 sts)
- Rnd 3: Sl st into the first ch-2 corner space. Ch 3, 2 dc in same sp, ch 2, 3 dc in same sp. *Ch 1, 3 dc in next ch-1 sp, ch 1, (3 dc, ch 2, 3 dc) in next corner sp; repeat from * twice more. Ch 1, 3 dc in last ch-1 sp, ch 1, sl st to top of initial ch-3. (36 sts)
- Rnd 4: Sl st into the first ch-2 corner space. Ch 3, 2 dc in same sp, ch 2, 3 dc in same sp. *Ch 1, (3 dc in next ch-1 sp, ch 1) across to corner, (3 dc, ch 2, 3 dc) in corner sp; repeat from * three times. Join with sl st to top of initial ch-3. (48 sts)
Finishing
Cut your yarn, leaving a 6-inch tail. Pull the tail through the final loop and tighten. Use a tapestry needle to weave the end through the back loops of the final round to secure it, then trim any excess yarn.
Care & Washing Instructions
- Hand wash your finished items in cool water with a mild wool-safe detergent to preserve the structure of the stitches.
- Lay the square flat on a clean towel and reshape it to your desired dimensions before letting it air dry completely away from direct sunlight.
- Avoid using a tumble dryer, as high heat can shrink synthetic fibers or felt animal-based fibers, causing your square to warp.
Pro Tips & Common Mistakes to Avoid
Maintain consistent tension by ensuring your yarn feed is smooth and not catching on your equipment, which prevents puckering in the corners. Place a stitch marker in the top of your starting chain-3 of each round to easily identify the join point, as it can often get hidden by the cluster of stitches. When weaving in your ends, run the needle through the stitches in two different directions to ensure the yarn does not pull out during laundering. If you want to increase the size of the square, simply continue adding rounds by working a (3 dc, ch 2, 3 dc) group in each corner and 3 dc in every ch-1 space along the sides, keeping in mind that each additional round will require approximately 10 additional yards of yarn.
Frequently Asked Questions
Can I use a larger hook for this pattern?
Yes, using a larger hook will result in a larger, looser square with more visible gaps between stitches. It is best to stick to the recommended 5.0 mm hook for a balanced fabric structure.
Is this pattern suitable for complete beginners?
This pattern is perfect for beginners because it uses only basic chains and double crochet stitches. The repetitive nature of the rounds helps build muscle memory quickly.
Am I allowed to sell items made from this pattern?
You are welcome to sell finished squares or projects you have created using this pattern. Always credit the designer when listing your items for sale online.
Why is my square not laying flat?
If your square is bowl-shaped, your tension may be too tight. If the edges are ruffling, your tension might be too loose or you may be adding too many stitches in the side spaces. Check that you are only placing one chain between the side clusters.
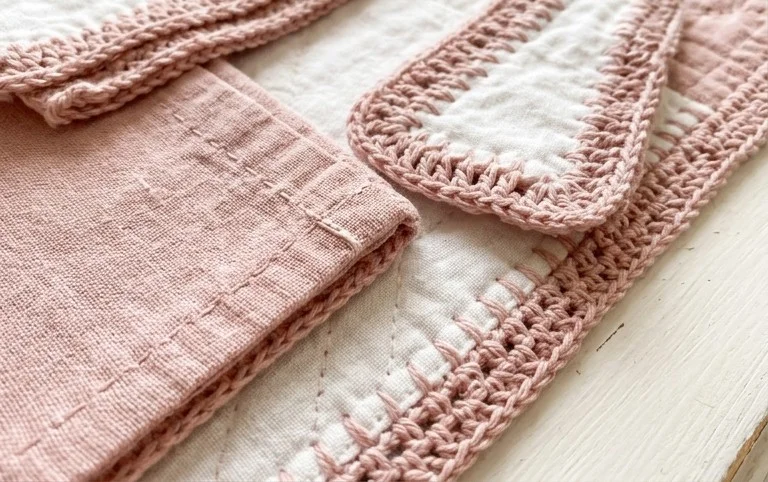
Your finished linen square is a functional piece of art that looks lovely stacked in a basket on your dining table. Consider holding two strands of thinner yarn together to create a chunkier, more absorbent version if you want a thicker coaster for iced drinks. Once you have finished your first set, take a photo to share your progress with other makers online to spark inspiration for color combinations. You can find more free patterns for handmade home accessories by browsing the other projects listed on this blog.