Easy Winter Crochet Garlands: Free Step-by-Step Patterns
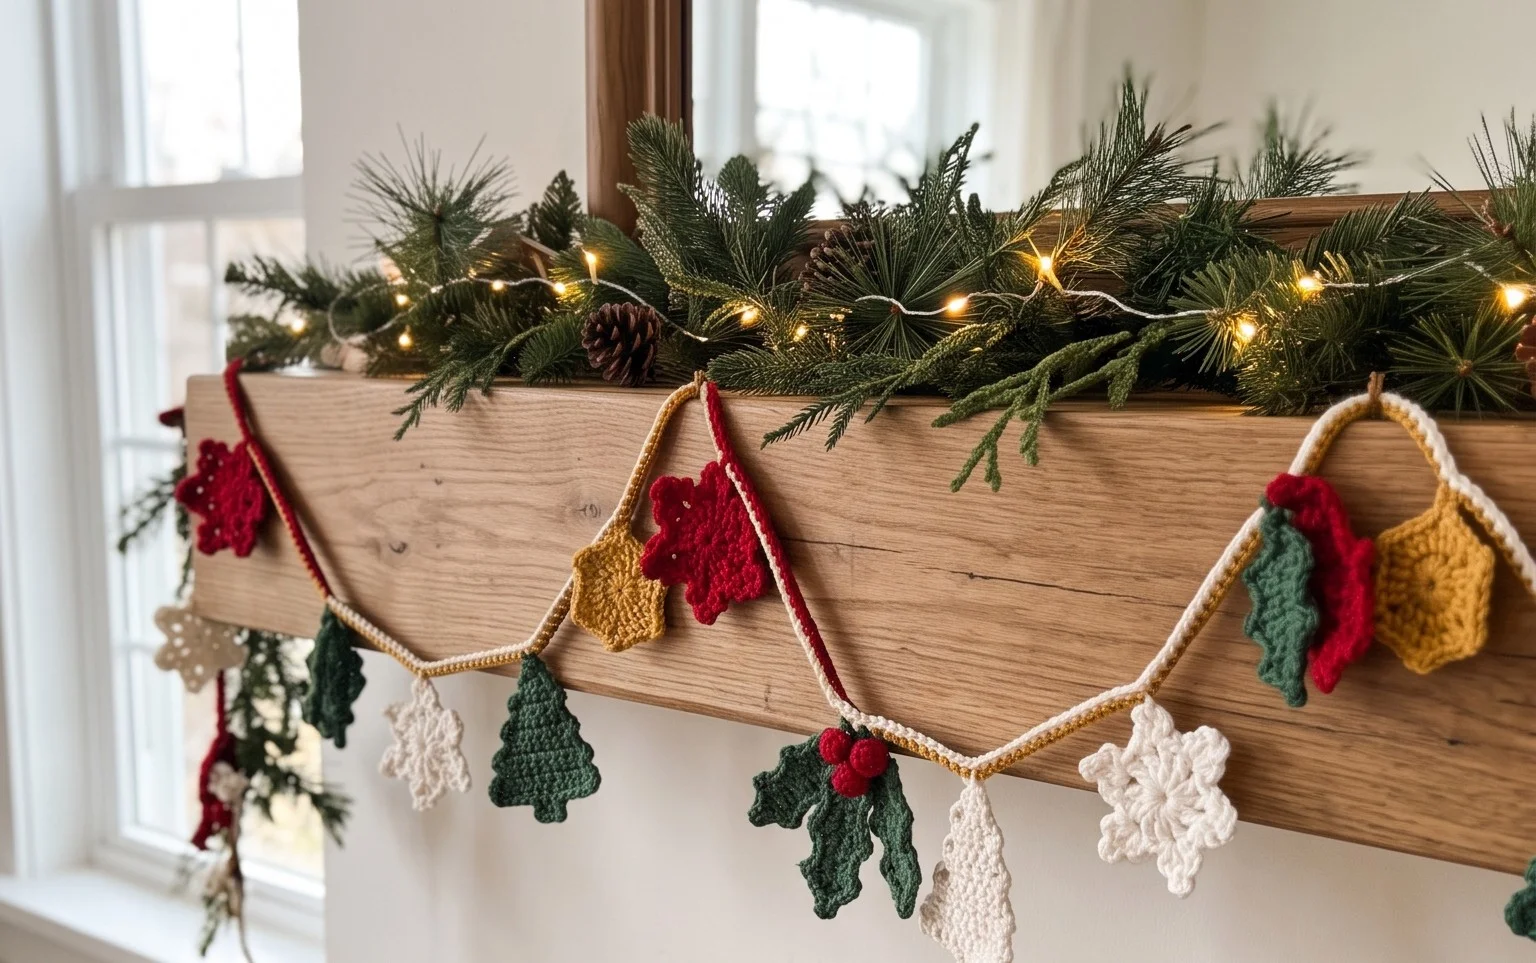
A string of handmade ornaments brings a soft, textural warmth to your living room walls during the coldest months of the year. These decorations feature simple motifs that catch the light and add a cozy touch to a fireplace mantel or a window frame. Beginners find these projects rewarding because they require minimal yarn and work up in just a few hours. You will learn to control tension while creating repeating shapes that form a cohesive display. Whether you prefer minimalist neutral tones or bold holiday colors, this craft offers a simple way to update your home seasonal aesthetic.
Why You’ll Love This Pattern
This beginner-friendly crochet beanie is a classic winter staple that works up quickly using simple, repetitive stitches. It relies on the half double crochet stitch, which creates a dense, warm fabric perfect for cold weather without being too heavy. Because the hat is worked flat in a rectangle and then seamed, you do not need to manage complex circular increases or worry about losing your place in a round. The ribbed texture adds a professional, store-bought finish that looks great in any yarn color.
I managed to finish this hat in a single evening while watching a movie. It is so easy to customize the fit, and the ribbing looks much more complicated than it actually is.
— Sarah, weekend crafter
Pattern Overview & Skill Level
- Skill Level: Beginner
- Approximate Time: 3 to 4 hours
- Construction: Worked flat in rows to create a rectangle, then folded and seamed to form the hat
- Finished Dimensions: 18 inches circumference (stretches to 22 inches) and 9 inches tall
Materials & Supplies Needed
- Yarn: Worsted weight (#4), wool or acrylic blend, approximately 200 yards.
- Hook Size: 5.5 mm (US I-9).
- Notions: Tapestry needle for seaming and weaving ends, scissors, and a measuring tape.
- Yarn Substitutions: You can use a bulky weight (#5) yarn for a chunkier look, but ensure you adjust your starting chain length to match the desired height, as thicker yarn will result in a larger gauge.
Stitch Guide & Abbreviations (US Terms)
- ch = chain
- hdc = half double crochet
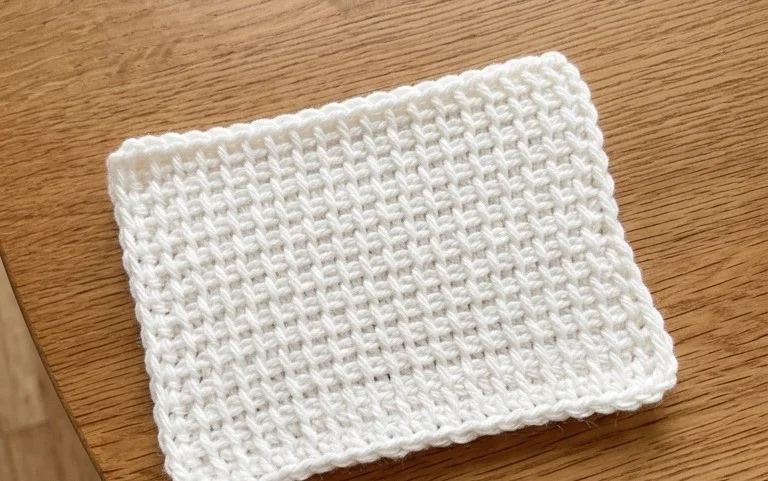
- hdc BLO = half double crochet in the back loop only (this creates the ribbed effect)
- st/sts = stitch/stitches
- sl st = slip stitch
- turn = turn your work to begin the next row
Step-by-Step Pattern Instructions
Main Hat Body
- Row 1: Ch 41. Hdc in the third ch from hook and in each ch across. Turn. (39 sts)
- Row 2: Ch 2 (does not count as a stitch). Hdc BLO in each st across. Turn. (39 sts)
- Row 3-50: Repeat Row 2 until the piece measures approximately 18 inches long when slightly stretched.
- Fastening Off: Leave a long tail of about 15 inches for sewing the seam. Cut the yarn and pull it through the final loop.
Assembly and Finishing
- Fold the rectangle in half so that the short edges meet, aligning the stitches from Row 1 with Row 50.
- Using the tapestry needle and the long yarn tail, sew the two edges together using a mattress stitch or a whip stitch. Ensure the ribbing aligns correctly along the seam.
- Once the side seam is closed, use the remaining yarn to weave through the top edge of the tube. Pull the yarn tight to cinch the top of the hat shut.
- Secure the center with a knot and weave in all remaining yarn ends on the inside of the hat. Turn the hat right-side out.
Care & Washing Instructions
- Hand wash your finished hat in cool water using a gentle detergent specifically formulated for wool or delicates.
- Lay the piece flat on a clean towel and roll it to remove excess moisture, then reshape it to its original dimensions on a flat surface to air dry.
- Avoid wringing or twisting the fabric while wet, as this can stretch the stitches and distort the ribbing pattern.
Pro Tips & Common Mistakes to Avoid
Maintain consistent tension throughout the project by keeping your yarn flow steady. If your stitches look uneven, try moving your index finger closer to the hook to control the yarn tension better. Using a stitch marker at the start of each row can help you keep track of your stitch count, ensuring you do not accidentally drop or add a stitch at the end of the row. When weaving in your ends, always work them into the back of the stitches to keep the seam invisible and secure.
Frequently Asked Questions
Can I use a different weight of yarn for this pattern?
Yes, but you will need to adjust the number of stitches in your starting chain. Thinner yarn requires more starting chains to reach the desired height, while thicker yarn requires fewer chains.
Is this pattern suitable for someone who has never held a crochet hook?
This pattern is ideal for beginners. Since it only requires the half double crochet stitch and working in the back loop, it is a great way to learn basic construction without the pressure of complex shaping.
How do I adjust the hat to be smaller for a child?
Simply start with a shorter foundation chain to reduce the height and work fewer total rows to decrease the circumference until it fits the head size you need.
Am I allowed to sell hats made from this pattern?
You are welcome to sell finished items created from this pattern. I ask that you provide credit to this website as the source of the design when listing your products online.
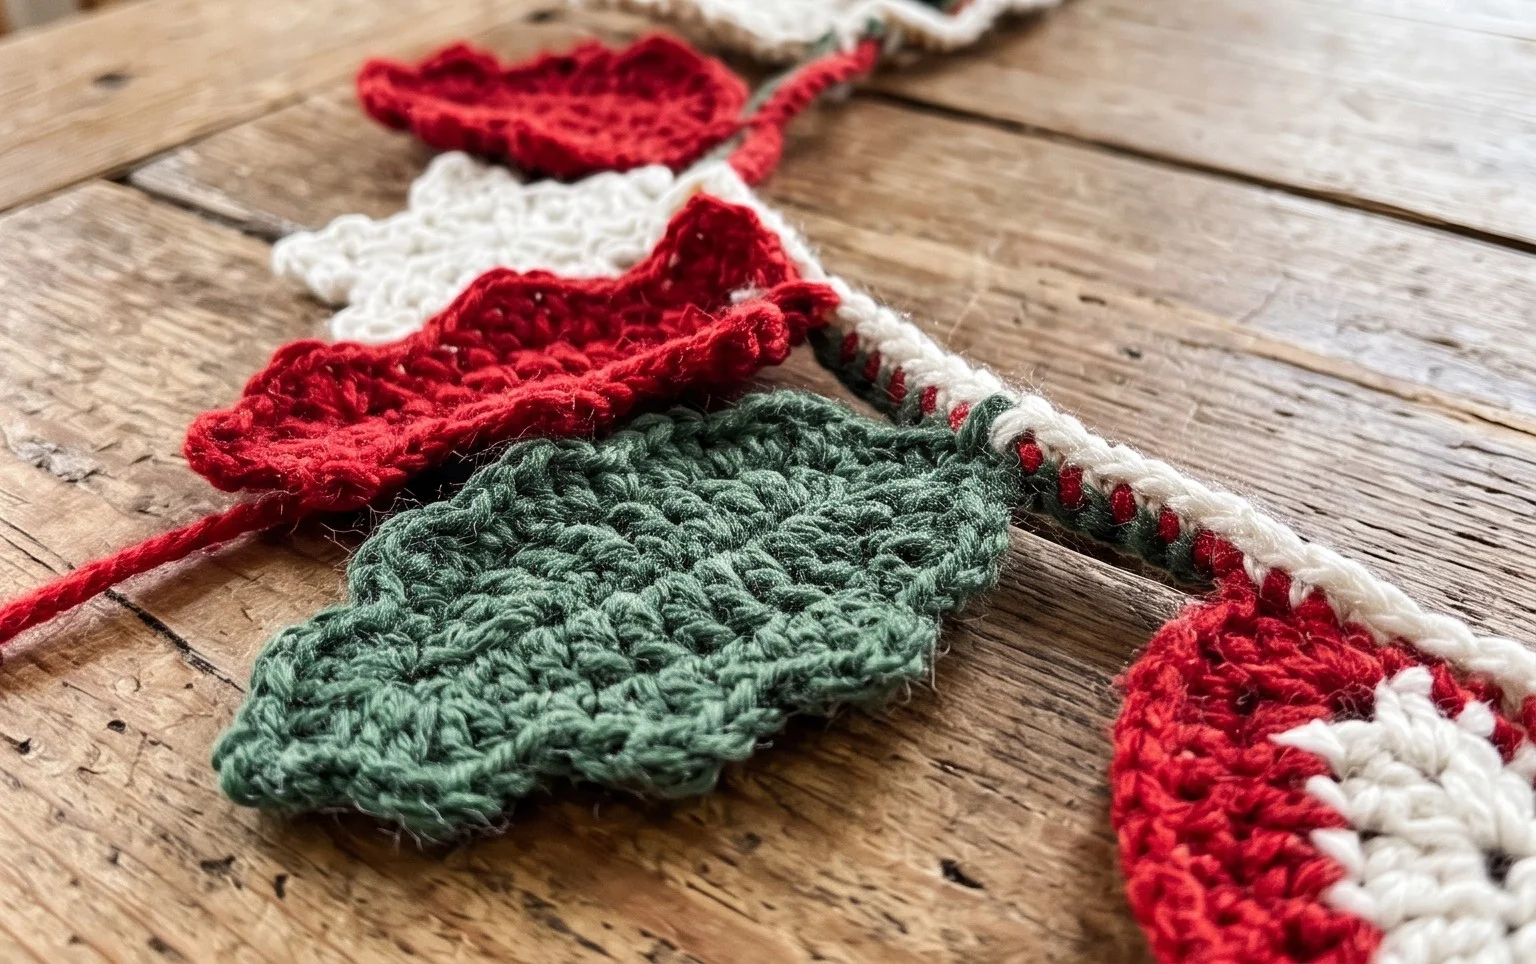
Hanging your finished garland brings a sense of accomplishment to your space while adding charm to your decor. You can easily switch up the look by swapping wool for cotton twine or adding wooden beads between each crocheted piece. We would love to see how you styled your finished garland, so feel free to tag us in your photos on social media. Check back here on the blog for more seasonal projects and free guides to help you build your collection of handmade items.