Tunisian Crochet Stitch Guide: Free Beginner Pattern
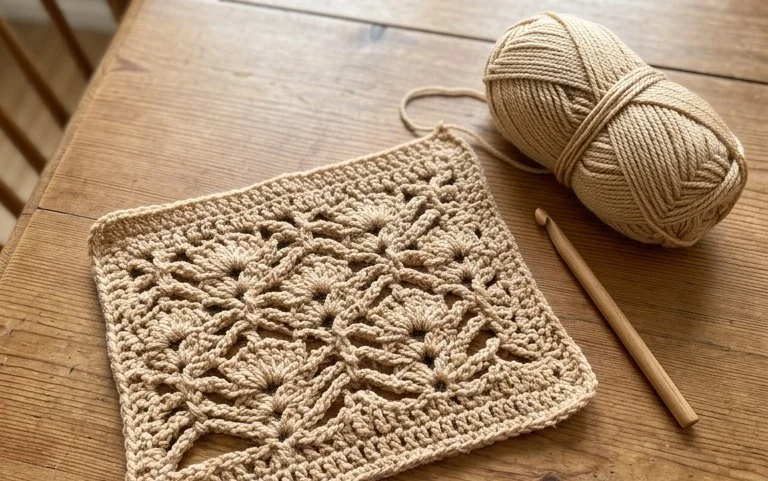
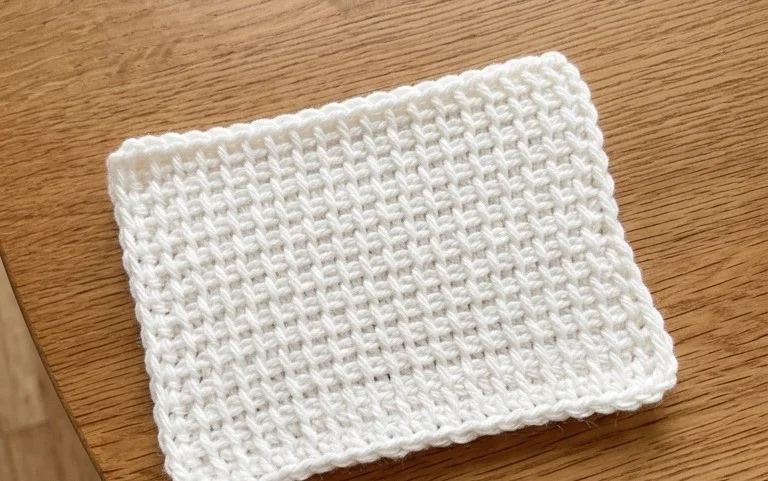
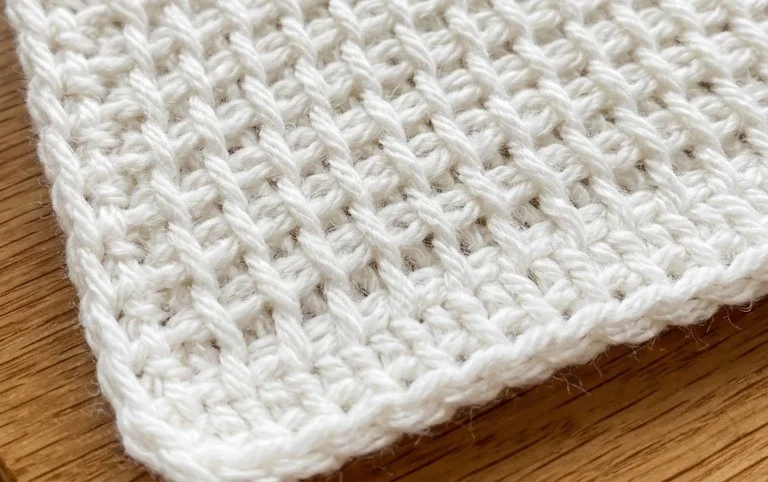
The fabric created by this unique technique feels remarkably dense and thick, similar to a woven rug yet possessing the soft flexibility of a traditional knit. It serves as an excellent option for beginners who want to move beyond basic loops and create durable, squishy household items. You will enjoy the rhythmic motion of moving yarn back and forth across your hook, which quickly builds up a warm, stable structure. In this guide, you will learn the simple Tunisian full stitch that creates a textured, grid-like pattern on your finished basket, making it a reliable project for your home.
Why You’ll Love This Pattern
The Classic Crochet Storage Basket is a functional home accessory that transforms unruly clutter into an organized display. Because it uses a super bulky weight yarn and a large hook, the fabric works up quickly, making it a satisfying weekend project for busy makers. The thick base provides excellent structural integrity, ensuring your basket stands upright without sagging. It serves as an ideal stash-buster for those extra balls of yarn sitting in your closet, and the simple, repetitive stitches create a meditative rhythm that requires little mental effort once the base is established.
I managed to finish two of these in a single afternoon for my craft room. The base is sturdy enough to hold my heaviest scissors and notions without tipping over.
— Sarah, home organizer
Pattern Overview & Skill Level
- Skill Level: Beginner
- Approximate Time: 2 to 3 hours
- Construction: Worked in continuous rounds from the center outward for the base, then worked in joined rounds for the sides.
- Finished Dimensions: 8 inches in diameter and 6 inches tall.
Materials & Supplies Needed
- Yarn: Super Bulky #6, cotton or acrylic blend, approximately 150 yards.
- Hook Size: 9.0 mm (M/N-13).
- Notions: Tapestry needle for weaving ends, stitch marker to track the start of rounds, scissors.
- Yarn Substitutions: You can use two strands of Worsted #4 weight yarn held together as a substitute. This will result in a slightly softer texture but will maintain the same gauge.
Stitch Guide & Abbreviations (US Terms)
- ch: chain
- st/sts: stitch/stitches
- sc: single crochet
- inc: increase (work 2 sc in the same stitch)
- sl st: slip stitch
- BLO: back loop only (insert hook under the back loop of the stitch instead of both loops)
- Rnd: round
Step-by-Step Pattern Instructions
Basket Base
The base is worked in a continuous spiral. Place a stitch marker at the start of each round to keep track of your progress.
- Rnd 1: Magic ring, ch 1, 6 sc in ring. (6 sts)
- Rnd 2: 2 sc in each st around. (12 sts)
- Rnd 3: 1 sc, inc repeat 6 times. (18 sts)
- Rnd 4: 2 sc, inc repeat 6 times. (24 sts)
- Rnd 5: 3 sc, inc repeat 6 times. (30 sts)
- Rnd 6: 4 sc, inc repeat 6 times. (36 sts)
Basket Sides
This section transitions to joined rounds to keep the wall straight and crisp.
- Rnd 7: Working in BLO, sc in each st around, sl st to join to first st. (36 sts)
- Rnds 8–14: Ch 1, sc in each st around, sl st to join. (36 sts)
- Rnd 15: Ch 1, reverse sc (crab stitch) in each st around for a decorative edge, fasten off. (36 sts)
Assembly and Finishing
Once you have finished the final round, cut the yarn, leaving a 6-inch tail. Pull the tail through the final loop and use your tapestry needle to weave it into the interior stitches of the basket wall. Ensure the base is flat and the sides are pushed outward to define the shape.
Care & Washing Instructions
- Hand wash your finished basket in cool water with a mild detergent to prevent fiber distortion.
- Gently squeeze out excess water, then reshape the basket while damp and lay it flat on a clean towel to air dry.
- Avoid using a tumble dryer, as high heat can shrink or permanently misshape the thick structure of the base.
Pro Tips & Common Mistakes to Avoid
Maintaining consistent tension is vital for this project. If your stitches are too loose, the basket will collapse; if they are too tight, the fabric will be stiff and difficult to work. Always use a stitch marker at the beginning of your rounds, as it is easy to lose count when working with thicker yarns. Weave your ends back and forth through the interior stitches at least three times to ensure they stay secure under the weight of the items you store. To adjust the size, simply add or subtract rounds to the base before moving to the sides, though note that a larger base will require more yarn to maintain stability.
Frequently Asked Questions
Can I use a smaller hook for a tighter weave?
Yes, using a smaller hook will make the basket stiffer, which is great if you need extra support for heavy items. Keep in mind that this will decrease the overall finished size.
Is this project suitable for a complete beginner?
This is an excellent first project. It covers the magic ring, basic increases, and working in the back loop, all of which are foundational skills in crochet.
Can I sell the baskets I make from this pattern?
You are welcome to sell finished items made from this pattern, provided you credit the design. Please do not redistribute the pattern text itself.
What happens if I run out of yarn halfway through?
Because the basket is worked in continuous rounds, it is best to join a new ball of yarn at the start of a round. Simply knot the new yarn to the old, tuck the ends inside the work, and continue crocheting.
Your finished storage container creates a tidy home for loose yarn scraps and loose notions that usually clutter your workspace. You might experiment with adding a bold color stripe in the middle section or doubling the height to hold taller items like knitting needles or rulers. Posting a photo of your finished work allows others to see how your specific yarn choice changed the overall appearance. Please visit our main library of patterns to find more projects that focus on foundational skills and practical home accessories for your ongoing craft journey.