Easy Nordic Hook Club Crochet Coasters Free Pattern
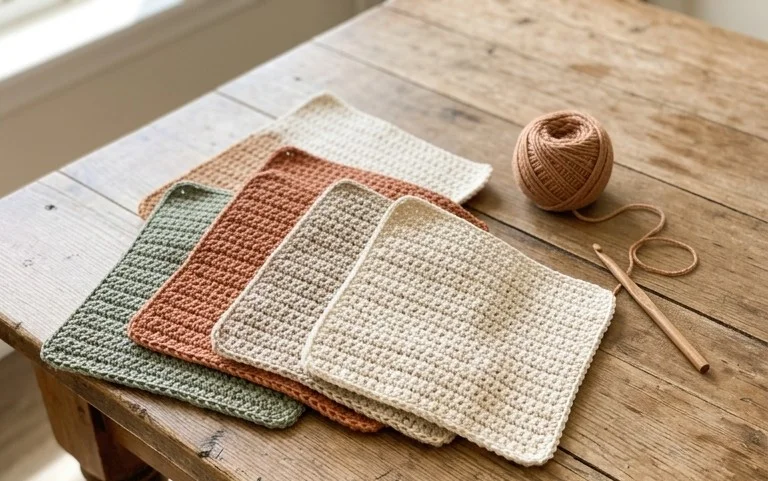
A stack of these cotton coasters brings a clean, natural warmth to your coffee table, feeling solid and heavy enough to hold a mug without sliding. This project suits beginners who want to practice working in joined rounds without getting overwhelmed by complex stitch counts. You will learn how to maintain a flat, circular shape through consistent tension and proper stitch placement, which is a foundational skill for larger home decor items. Because they take so little time to finish, they remain the go-to project when you need a small, thoughtful handmade gift for a friend or a quick weekend refresh for your own living room decor.
Why You’ll Love This Pattern
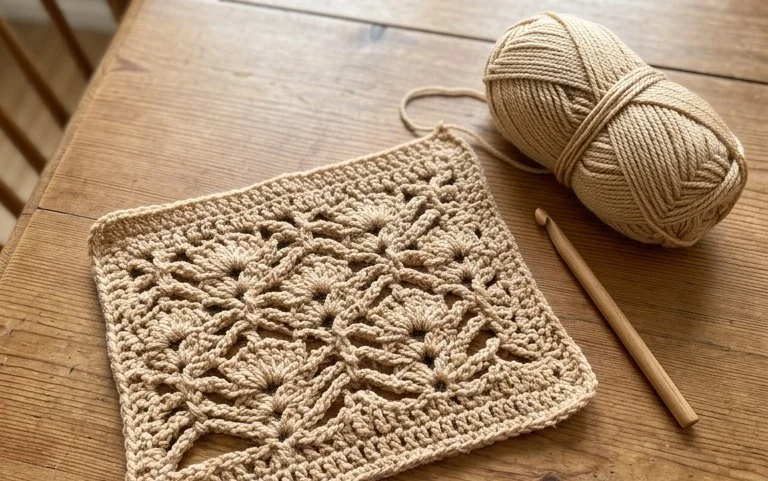
This beginner-friendly crochet coaster set is the ideal project for using up small amounts of leftover cotton yarn. You will appreciate how quickly these work up, making them a practical choice for last-minute gifts or stocking your own coffee table. The dense stitch construction provides a sturdy base that protects surfaces from heat and moisture. Because the design relies on a simple, repeating round structure, it offers a meditative rhythm that is easy to pick up and put down during short breaks.
These coasters were the perfect afternoon project. The instructions were easy to follow and my set turned out exactly like the photos.
— Sarah, home decorator
Pattern Overview & Skill Level
- Skill Level: Beginner
- Approximate Time: 30 minutes per coaster
- Construction: Worked in joined rounds, starting from a center ring and expanding outwards
- Finished Dimensions & Sizing: Approximately 4 inches in diameter
Materials & Supplies Needed
- Yarn: Worsted weight (#4) 100% cotton yarn, approximately 15 yards per coaster. Cotton is chosen for its heat resistance and absorbency.
- Hook Size: 5.0 mm / H-8
- Notions: Tapestry needle for weaving in ends, scissors, and a stitch marker.
- Safe Yarn Substitutions: Acrylic yarn may be substituted but will not absorb moisture as effectively as cotton. Wool is not recommended for coasters as it may felt over time if wet.
Stitch Guide & Abbreviations (US Terms)
- ch = chain
- st = stitch
- sl st = slip stitch
- sc = single crochet
- dc = double crochet
- inc = 2 dc in the same stitch
- MR = magic ring
Step-by-Step Pattern Instructions
Coaster Body
You will work in joined rounds. At the end of each round, join with a slip stitch to the first stitch of the round and chain 2 to begin the next. Note that the chain 2 does not count as a stitch.
- Rnd 1: Start with a MR, ch 2. Work 12 dc into the ring. Join with a sl st to the first dc. (12 sts)
- Rnd 2: Ch 2, 2 dc in each st around. Join with a sl st to the first dc. (24 sts)
- Rnd 3: Ch 2, 1 dc in the next st, 2 dc in the next st. Repeat from * to * around. Join with a sl st to the first dc. (36 sts)
- Rnd 4: Ch 2, 1 dc in the next 2 sts, 2 dc in the next st. Repeat from * to * around. Join with a sl st to the first dc. (48 sts)
Finishing
After completing Round 4, fasten off the yarn, leaving a 6-inch tail. Use your tapestry needle to weave the tail through the back loops of the final round to secure it firmly. Pull the center tail of the magic ring tight to ensure the hole is fully closed before weaving that end in as well. If your coaster feels slightly wavy, lay it flat on a clean surface and press it with a warm iron—use a pressing cloth to protect the fibers—or use a light mist of water to block it into a perfect circle.
Care & Washing Instructions
- Machine wash your cotton coasters on a gentle cycle in cool water to prevent shrinking.
- Lay the coasters flat on a towel immediately after washing to air dry, ensuring they maintain their circular shape.
- If the coasters become misshapen during use, dampen them slightly and reshape them by hand on a flat surface.
Pro Tips & Common Mistakes to Avoid
Consistent tension is vital for a flat coaster; if your stitches are too tight, the coaster will cup, and if they are too loose, the fabric will be flimsy. Use a stitch marker to keep track of the first stitch of every round, which helps avoid accidentally adding extra stitches or skipping the join. When weaving in your ends, run the needle through the base of the stitches on the back side for at least two inches to ensure the ends do not unravel with frequent use. If you wish to make these coasters larger, simply continue the pattern of adding one extra stitch between each increase in every subsequent round, though you will need approximately 5 additional yards of yarn for every added round.
Frequently Asked Questions
Can I use a different yarn weight for this pattern?
Yes, you can use DK or bulky weight yarn, but your final coaster size will change. A lighter yarn will result in a smaller coaster, while a thicker yarn will create a larger, chunkier base.
Is this project suitable for someone who has never held a crochet hook?
This pattern is excellent for beginners because it uses basic stitches and clear, simple repeats. You only need to know how to create a magic ring, chain, and double crochet to complete the entire piece.
How do I keep my coasters from curling at the edges?
Curling usually happens if the stitch count is too low for the diameter or if your tension is too tight. Ensure you are increasing correctly according to the stitch counts provided, and try loosening your tension if the fabric begins to bowl inward.
May I sell the coasters I make from this pattern?
You are welcome to sell finished items made from this pattern. Please credit the design to me when listing your items online or in person, but do not reproduce the pattern text itself.
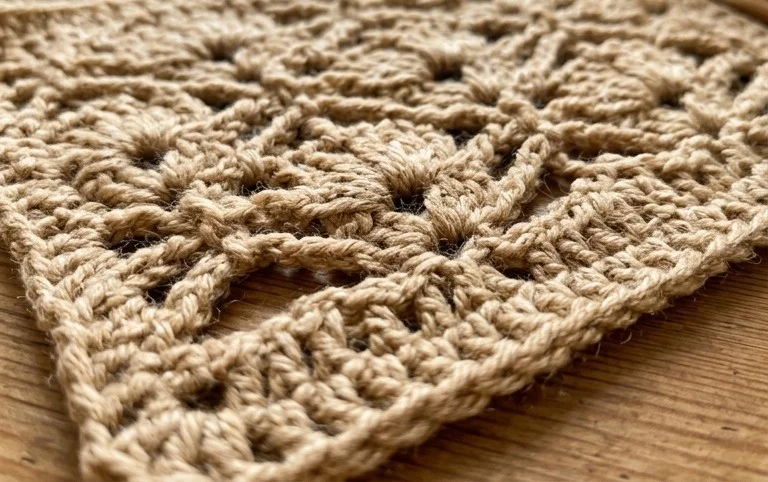
Your finished coasters add a simple, functional touch to any table surface, protecting wood finishes from heat and rings while showing off your craft. You can create a larger matching set for a centerpiece by using a heavier weight cotton yarn or experimenting with a contrasting color for the final border round to frame the center. Upload a photo of your project to social media so others can see your color choices in action. Browse through the rest of the blog for more free patterns that help you build your collection of home essentials.