Easy Crochet Pan Protectors Free Pattern for Beginners
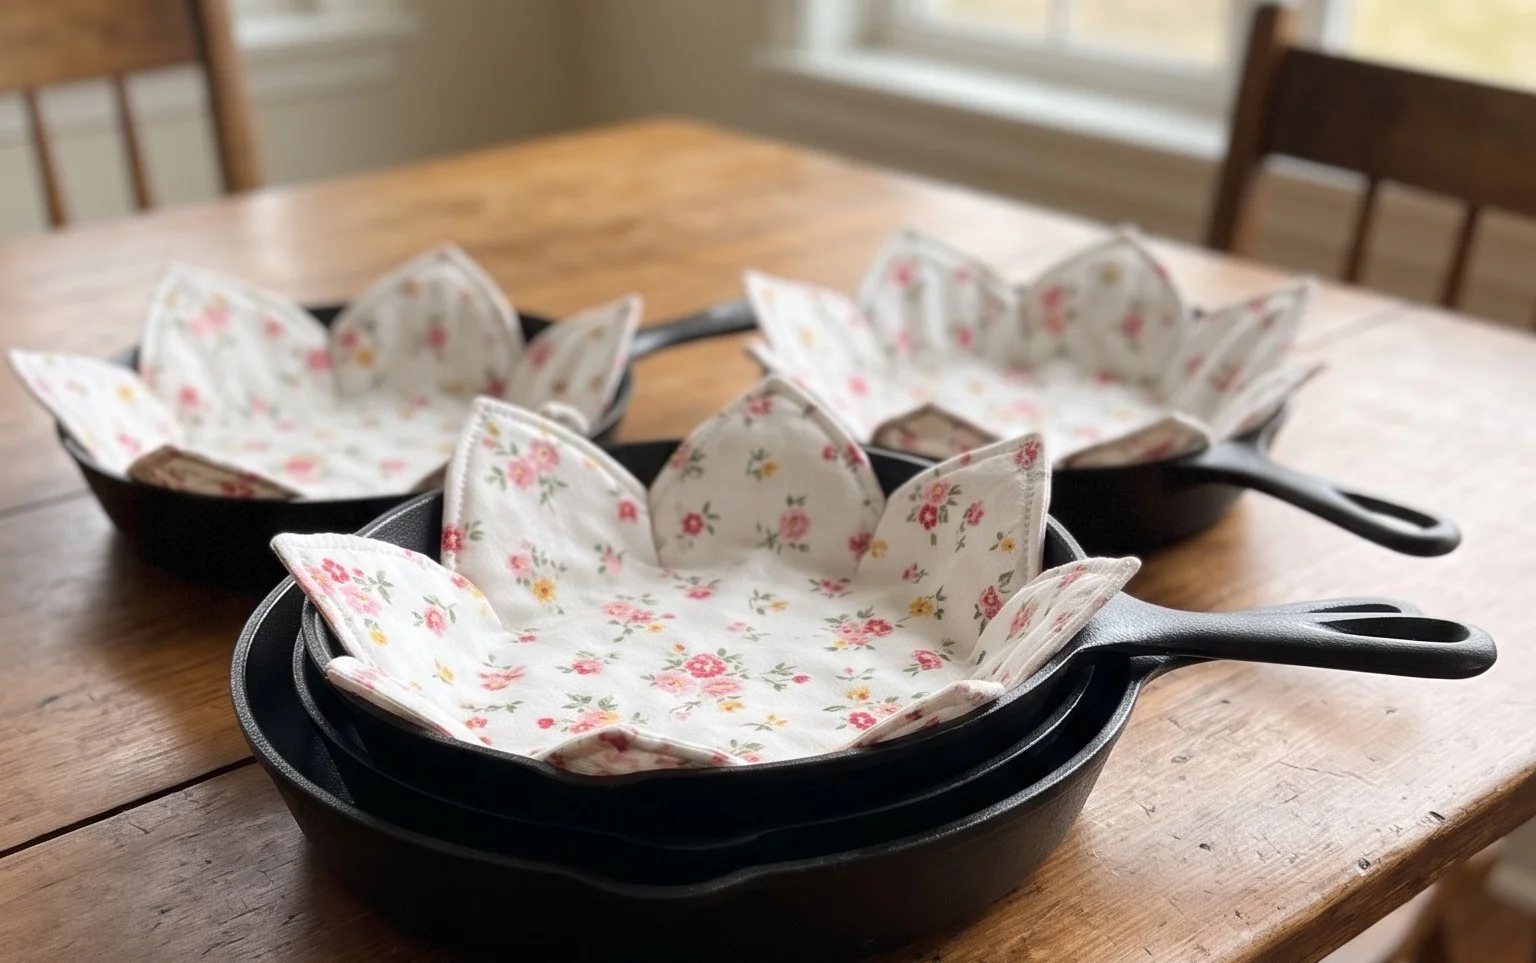
Worsted cotton gives these crochet pan protectors a soft, substantial feel, with gentle ridges from rows worked through the back loop. The square shape sits neatly between stacked pans and helps keep cookware from rubbing together in a cupboard. Beginners can use the project to practice chain stitches, single crochet, and keeping an even stitch count, while gift makers can finish a useful kitchen set with a modest amount of yarn. The fabric is worked flat in rows, so there is no complicated shaping or separate border to manage. In this pattern, you’ll find the materials, sizing and gauge, along with clear instructions for the ridged stitch and a video tutorial to follow as you work. Cotton is also easy to wash after everyday kitchen use.
Why You’ll Love This Pattern
Worsted cotton makes this dishcloth sturdy, absorbent, and comfortable to hold while you scrub. The cloth is worked in single crochet, with every other row worked through the back loop to create a subtle ridge and a little extra texture.
The flat shape and steady stitch count make it a good first project for practicing even tension and row counting. It also uses a modest amount of yarn, so a leftover ball of cotton can work if it has enough yardage. At about 8 inches square, the finished cloth is handy for everyday kitchen use or as a small housewarming gift.
The ridged rows were easy to keep track of, and the cotton feels substantial without being stiff. I finished mine over a couple of evenings.
— Mara, dishcloth maker
Pattern Overview & Skill Level
- Skill Level: Beginner. You need to know how to chain and single crochet.
- Approximate Time: 3–4 hours, depending on your pace and how often you pause to count.
- Construction: A flat rectangle worked in rows from the bottom edge upward. There is no separate border or seam.
- Finished Dimensions & Sizing: About 8 × 8 inches (20 × 20 cm) after washing and drying flat. The sample gauge is 18 stitches and 24 rows per 4 inches (10 cm) in single crochet.
Materials & Supplies Needed
- Yarn: About 90–110 yd (82–101 m) of worsted-weight (#4) cotton yarn. Use one color or join a new color at a row edge.
- Hook: 5.0 mm / H-8 crochet hook. Use the hook that gives you the stated gauge; a different hook can change the finished size.
- Notions: Tapestry needle for weaving in the starting and ending tails, scissors, and a ruler or tape measure. A stitch marker is optional but useful for marking the first stitch of a row.
- Substitutions: Choose smooth, machine-washable 100% cotton for similar absorbency and care. Cotton-linen yarn can feel firmer and may drape less. Avoid acrylic for a cloth used to wipe hot cookware, as it can soften with heat. A different yarn weight will change the size and fabric; check gauge and expect to adjust yardage.
Stitch Guide & Abbreviations (US Terms)
- ch: Chain. Yarn over and pull through the loop on the hook.
- sc: Single crochet. Insert the hook in the stitch, yarn over and pull up a loop, yarn over and pull through both loops.
- BLO: Back loop only. Work the stitch through the back loop of the stitch at the top edge, leaving the front loop unworked.
- st(s): Stitch or stitches.
The turning chain does not count as a stitch. Work the first single crochet into the first stitch of each row, not into the turning chain. The back-loop rows form raised horizontal ridges on one side of the cloth.
Step-by-Step Pattern Instructions
Dishcloth
- Foundation: Ch 37. Keep the chain relaxed so the bottom edge does not pull in.
- Row 1: Sc in the second ch from the hook and in each ch across. Ch 1 and turn. (36 sts)
- Row 2: Sc in BLO across. Ch 1 and turn. (36 sts)
- Rows 3–48: Repeat Row 1 on odd-numbered rows and Row 2 on even-numbered rows. In other words, work regular sc across each odd row and sc in BLO across each even row. Ch 1 and turn after every row. (36 sts in each row)
- Fasten off: After Row 48, cut the yarn, leaving a tail long enough to weave in. Pull the tail through the last loop to secure it.
Finishing
Use a tapestry needle to weave each tail through several stitches on the wrong side, changing direction once so the end is less likely to work loose. Trim the excess close to the fabric without cutting any stitches. Wash and dry the cloth flat before measuring. If it is slightly uneven, smooth the edges into a square while it is damp.
Check your gauge before making the full cloth if you want a finished size close to 8 inches. A 4-inch swatch should have about 18 stitches across and 24 rows tall. If you have more stitches than that, try a larger hook; if you have fewer, try a smaller hook.
Care & Washing Instructions
- Machine wash cotton in warm water, up to 40°C (104°F), with similar colors; use a gentler cycle if the yarn label recommends it.
- Dry flat to help the cloth keep its square shape. Avoid high dryer heat, which can shrink some cotton yarns.
- While damp, gently reshape the edges and corners; follow the yarn label if you choose to block it.
Pro Tips & Common Mistakes to Avoid
- Keep the foundation chain loose: Tight chains can make the first edge shorter than the rest of the cloth. If your chains are consistently tight, try making them with a slightly larger hook, then switch back to the 5.0 mm hook for Row 1.
- Count the stitches: Check for 36 stitches at the end of each row. Put a marker in the first stitch if it is easy to miss after turning; the turning chain does not count.
- Weave in tails securely: Thread each tail through the backs of several stitches, then change direction before trimming. Cotton can shift with repeated washing, so a short, loose weave-in may come undone.
- Adjust size with care: Add or remove foundation chains to change the width, then add or remove rows to change the height. Each extra chain usually adds about ¼ inch at the stated gauge; a wider or taller cloth uses more yarn.
Frequently Asked Questions
Can I use a different cotton yarn?
Yes. Choose a smooth yarn that is close to worsted weight and check the label for washing instructions. A thicker yarn or looser gauge makes a larger, heavier cloth and may use more than 110 yd; a thinner yarn makes a smaller fabric.
How can I make the dishcloth smaller or larger?
For a narrower cloth, start with fewer chains while keeping the foundation chain one chain longer than the stitch count you want. For more width, add chains. Adjust the number of rows for length, and measure as you work because yarn and tension affect the final dimensions.
Is this pattern suitable for a beginner?
Yes. It uses only chains and single crochet, and the stitch count stays at 36 throughout. The main detail to watch is working into the first stitch after each turn and keeping the turning chain out of the count.
Can I sell dishcloths made from this pattern?
Check the designer’s terms before selling finished items, and follow any rules about pattern credit or commercial use. Also check the yarn label if you plan to describe the cloth’s fiber content or care requirements.
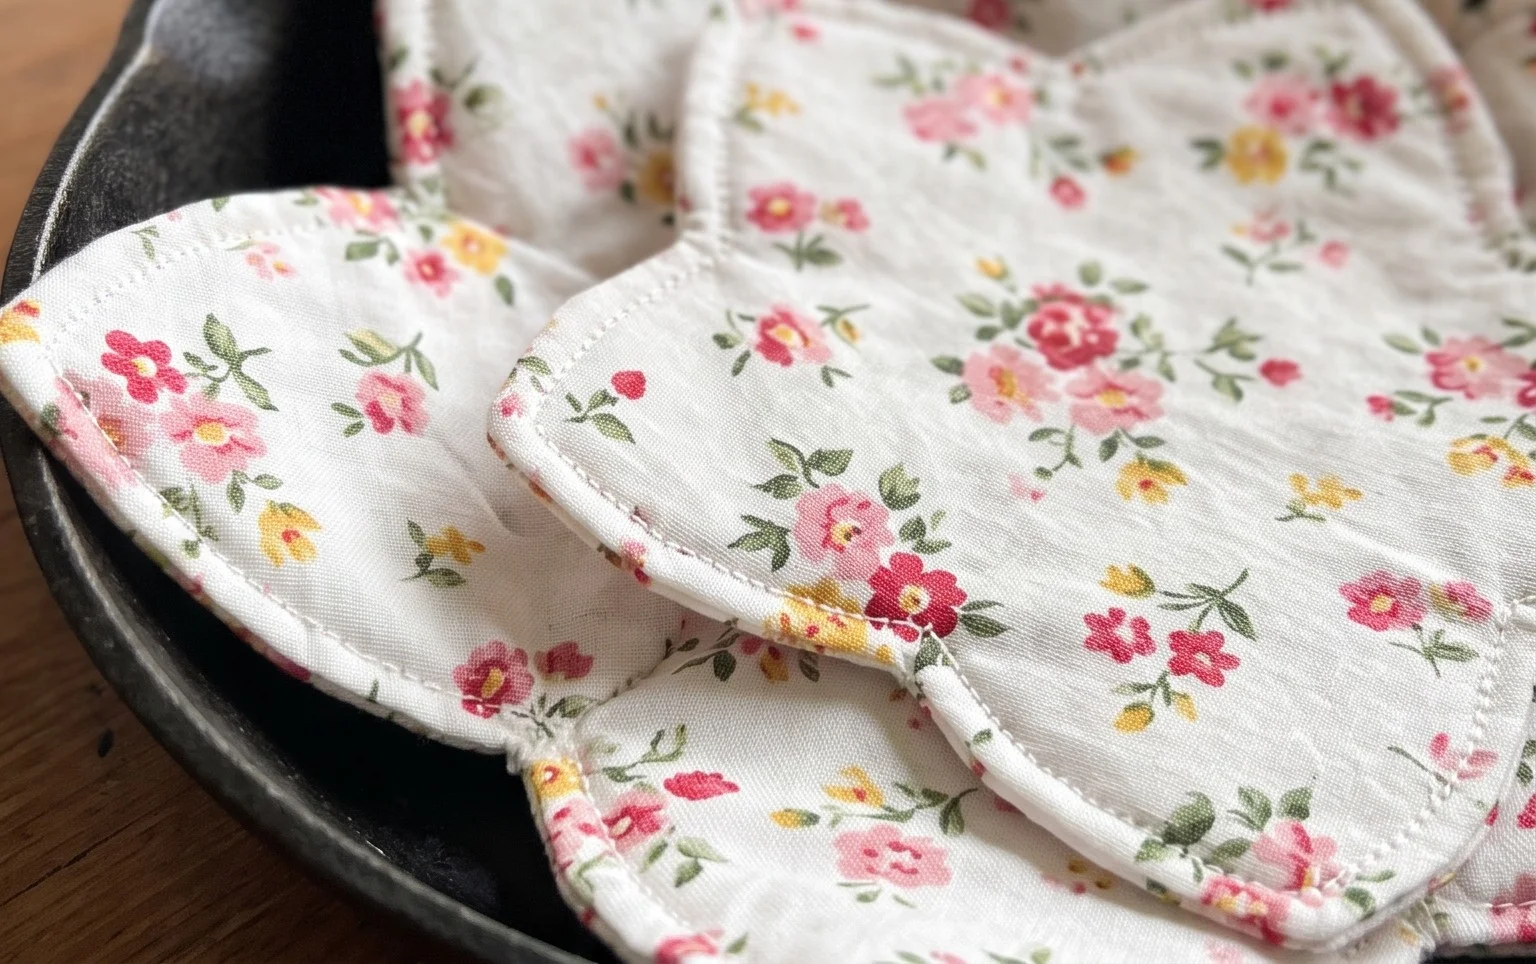
Once your cotton square is finished, you’ll have a useful layer to place between pans and a satisfying project made with simple stitches. Make a set in one color for a tidy look, or change colors at the row edge to use up cotton leftovers. Keep the stitch count steady so the edges stay straight, and wash the finished piece according to the yarn label before using it with your cookware. If you make one, share a photo on Pinterest or your favorite social media platform; seeing the colors and sizes you choose is always fun. Then explore more free patterns on the blog for practical projects to make for your home or give to someone else.