Easy Crochet Pattern: Essential Materials & Beginner Guide
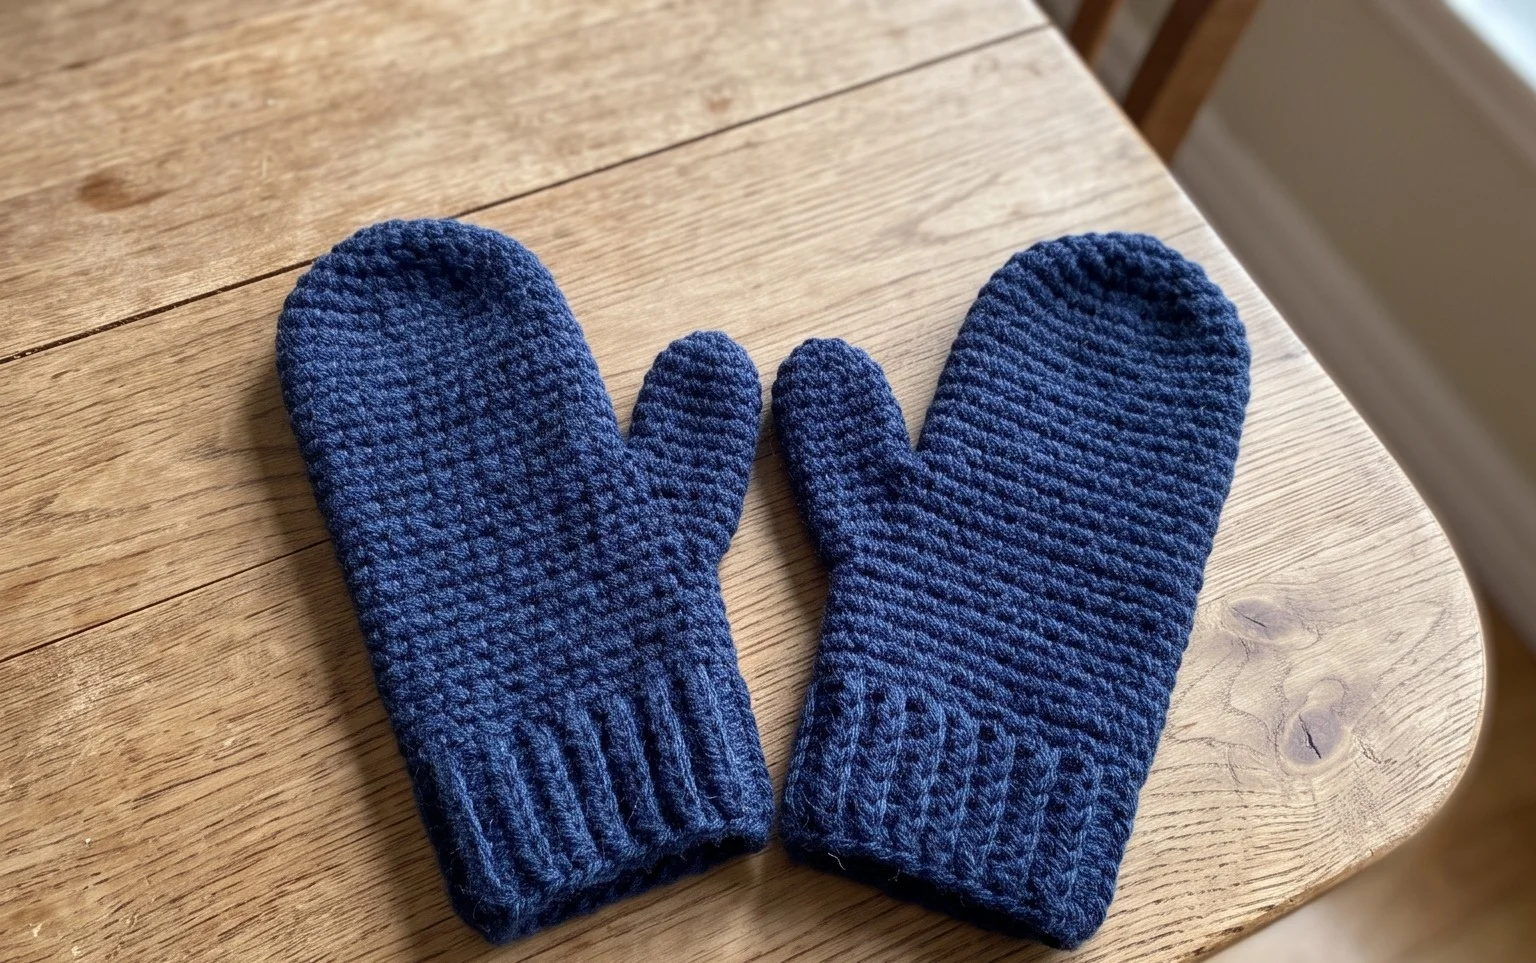
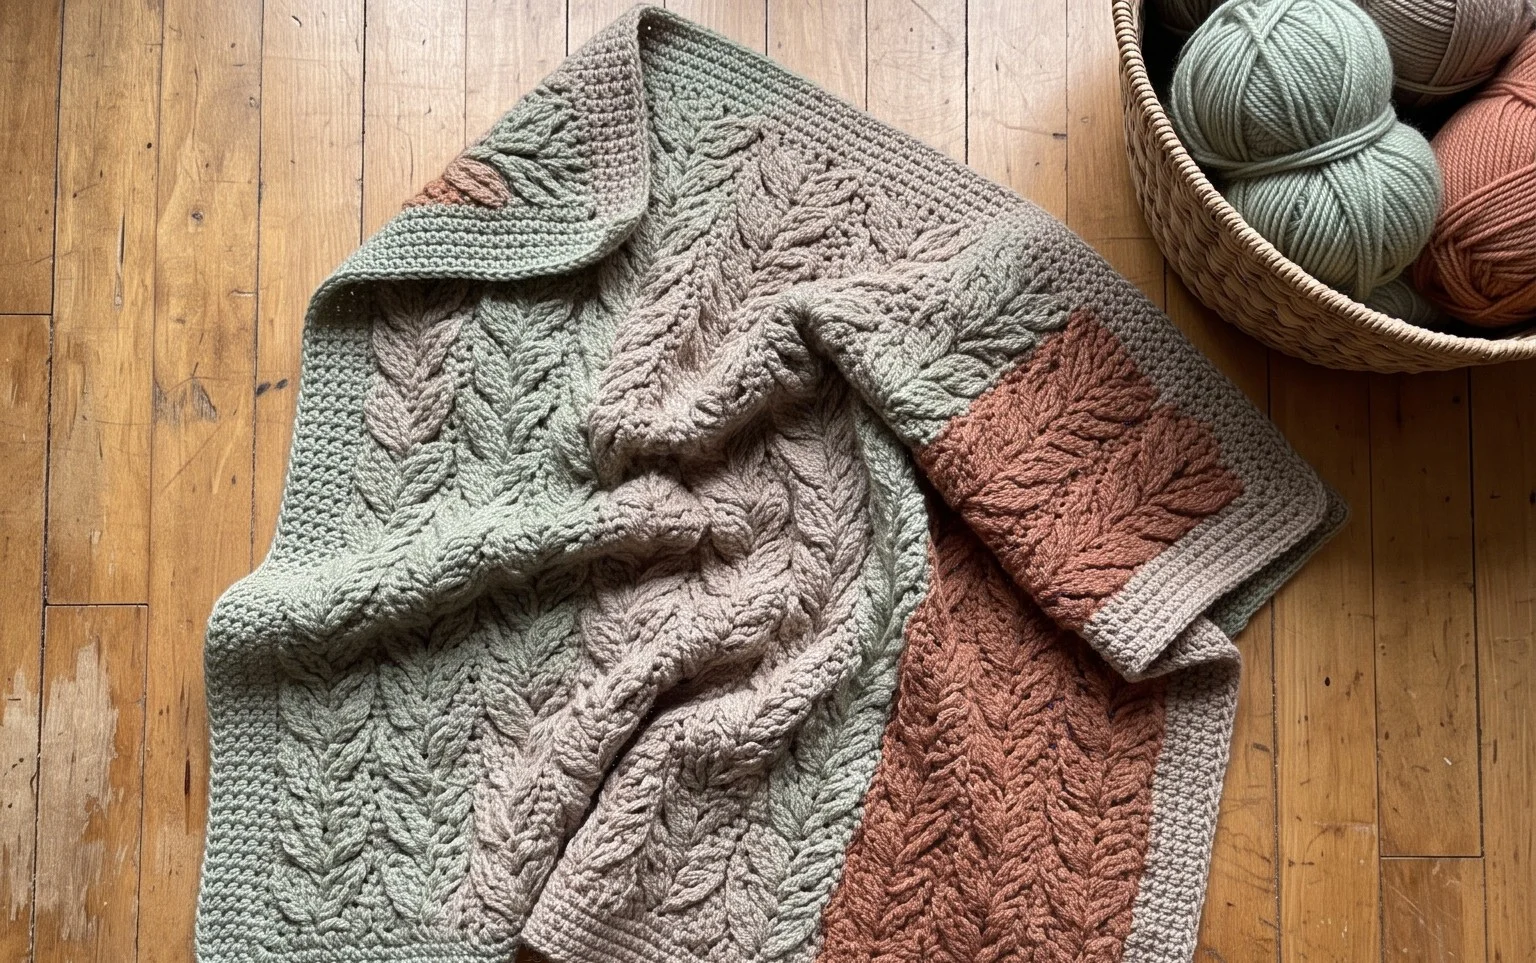
There is nothing quite like the feeling of wrapping your hands around this plush, cloud-like creation, which drapes beautifully to add a touch of cozy elegance to any corner of your home. Whether you are a curious beginner picking up your first hook or a seasoned gift maker searching for the perfect heartfelt present, this project offers a deeply satisfying rhythm that clears the mind. You will love how quickly it works up, transforming simple yarn into a textured masterpiece. We are about to explore the essential materials and master the unique joining technique that gives this piece its signature look.
Why Crocheters Love It
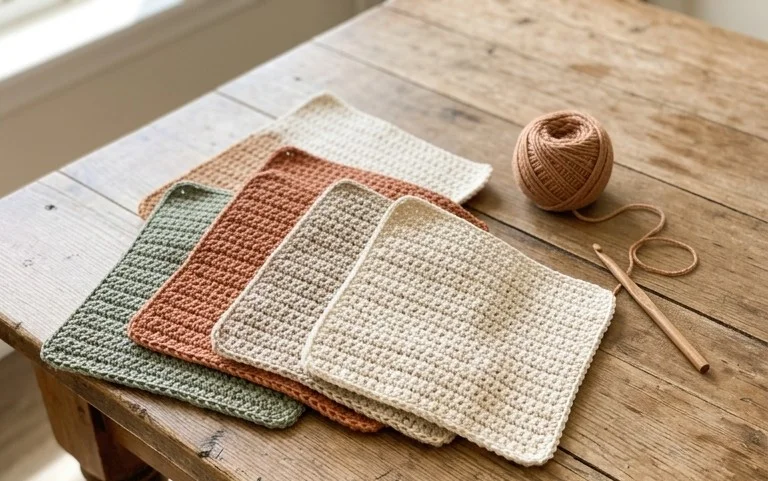
This project is a perennial favorite for both novice and seasoned makers alike because it offers the perfect balance of simplicity and satisfaction. First, it is exceptionally quick to work up, making it the ideal “palate cleanser” project between larger, more time-consuming garments. Second, it is highly scrap-yarn friendly, allowing you to put those leftover half-skeins of yarn to excellent use. Third, the repetitive nature of the stitches creates a meditative, rhythmic flow that many find incredibly relaxing after a long day. Finally, these pieces make impeccable, high-end handmade gifts that look far more complex than they actually are.
I managed to finish this over a single weekend while watching my favorite show. The pattern is so well-written and easy to follow that I didn’t even have to look at the instructions after the first few rounds.
— Sarah, Intermediate Crocheter
Pattern Overview & Skill Level
- Skill Level: Beginner
- Approximate Time: 2 to 3 hours
- Construction: Worked in continuous rounds from the center outward, creating a seamless 3D circular form.
- Finished Dimensions: Approximately 6 inches in diameter.
Materials & Supplies Needed
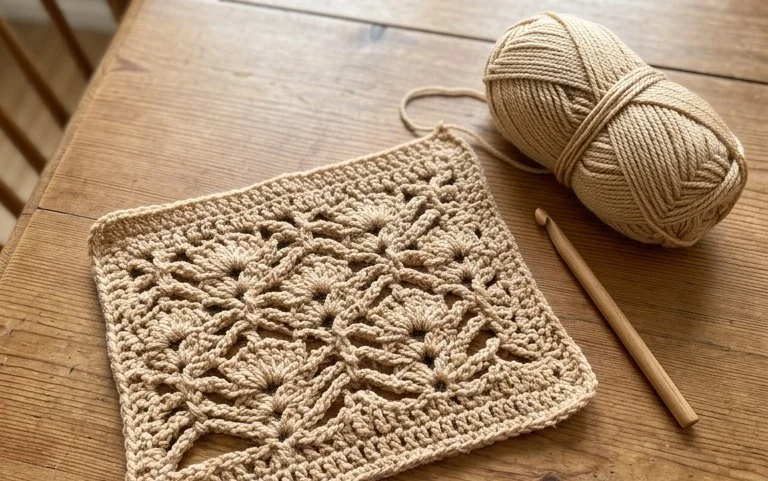
- Yarn: Worsted weight (#4), 100% Cotton, approximately 75 yards in two contrasting colors.
- Hook Size: 5.0 mm (H-8).
- Notions: Tapestry needle, locking stitch markers, and sharp scissors.
- Yarn Substitutions: Acrylic worsted weight yarn can be substituted for a softer feel, though it may result in a slightly larger, less structured finish. Always check your gauge before beginning.
Stitch Guide & Abbreviations (US Terms)
- ch: Chain
- sc: Single crochet
- inc: Increase (work 2 sc in the same stitch)
- sl st: Slip stitch
- MR: Magic Ring (a method of starting a round with an adjustable loop)
- st(s): Stitch(es)
- FO: Fasten off
Step-by-Step Pattern Instructions
Main Body
- Rnd 1: Start 6 sc in a MR (6 sts).
- Rnd 2: Inc in each st around (12 sts).
- Rnd 3: [Sc in next st, inc in next st] 6 times (18 sts).
- Rnd 4: [Sc in next 2 sts, inc in next st] 6 times (24 sts).
- Rnd 5: [Sc in next 3 sts, inc in next st] 6 times (30 sts).
- Rnd 6: [Sc in next 4 sts, inc in next st] 6 times (36 sts).
- Rnd 7: [Sc in next 5 sts, inc in next st] 6 times (42 sts).
- Rnd 8: [Sc in next 6 sts, inc in next st] 6 times (48 sts).
Border and Finishing
- Rnd 9: Ch 1, work 48 sc in the back loops only (BLO) of the previous round to create a defined edge (48 sts).
- Rnd 10: Work 1 round of even sc in both loops (48 sts).
- Finishing: Sl st into the first st of the round, FO leaving a 6-inch tail. Weave in ends using the tapestry needle to secure the piece invisibly.
Care & Washing Instructions
- Hand wash in cool water using a gentle detergent specifically formulated for delicate fibers.
- Lay flat on a clean, dry towel to air dry, reshaping the piece while damp to maintain its circular form.
- Avoid using a tumble dryer or iron, as high heat can compromise the fiber integrity and cause irreversible shrinkage.
Pro Tips & Common Mistakes to Avoid
- Maintain Consistent Tension: When working in continuous rounds, keep your tension even to ensure the piece lays flat and doesn’t cup or ripple.
- Use a Stitch Marker: Always place a locking stitch marker in the first stitch of every round. Because this project is worked in continuous rounds without joining, it is easy to lose track of your starting point without a marker.
- Weaving Ends: Weave your yarn tails back and forth through the back loops of the stitches on the underside of your work for an invisible finish that won’t pull loose.
- Adjusting Size: To increase the size, simply continue the increase sequence (e.g., [Sc 7, inc] for the next round). Note that larger sizes will require significantly more yardage, so ensure you have enough yarn before proceeding beyond the stated rounds.
Frequently Asked Questions
Can I use a different weight of yarn for this project?
Yes, you can use any yarn weight, but note that the finished size will change significantly. A thinner yarn will result in a smaller piece, while a bulkier yarn will produce a larger one. Always adjust your hook size to match your yarn’s recommendation.
Is this pattern suitable for absolute beginners?
Absolutely! This pattern utilizes only the most fundamental crochet stitches (chains and single crochet). As long as you are comfortable creating a Magic Ring and working in rounds, you will find this project very approachable.
Can I sell the finished items made from this pattern?
Yes, you may sell finished items made from this pattern, provided you credit the designer and use your own original photographs for your listings. Please do not sell or redistribute the pattern document itself.
How do I prevent my work from curling?
Curling often occurs if your tension is too tight or your hook is too small for the yarn weight. If you notice your piece curling, try going up a hook size or consciously loosening your yarn tension while working your stitches.
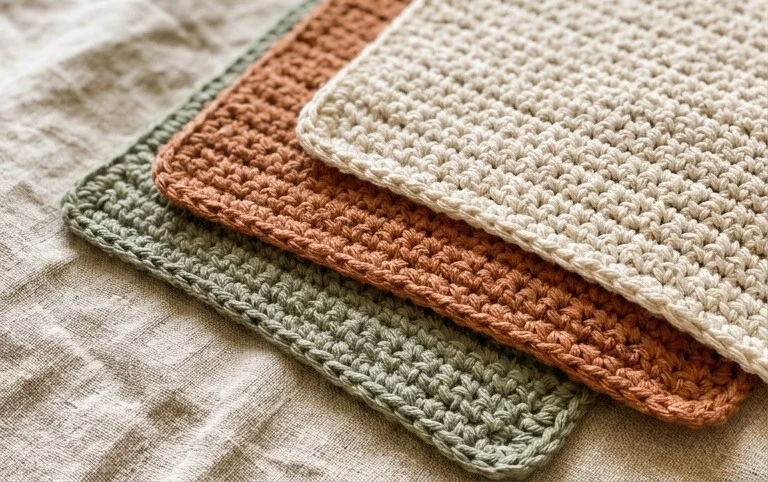
You are going to absolutely love seeing this cozy design come to life in your own hands. If you want to put a personal touch on the piece, try using a variegated yarn to add a splash of unexpected color to every stitch. Once you finish your masterpiece, I would be so thrilled if you shared a photo on social media or Pinterest with our community. When you are ready for your next project, please head over to our blog for more free patterns!